Making the most of your Infor products – Document Management (IDM)
Jun 10 2020
This article is an introduction for anyone setting up Infor Document Managment (IDM) for the first time. It’s the first in our series on getting the most from your Infor Operating Service (OS) platform, which gives M3 users access to some great applications for extending the M3 functionality, and is authored by Kristina Verco, one of our Infor M3 technical specialists.
Infor Document Management
IDM provides a simple repository for your organisation’s M3-related documents. These documents can be checked out and back into IDM with full version control and are easily accessible from within M3. Keep in mind that IDM isn’t intended to replace your in-house document management system. For example, there is no folder structure and direct editing of Office documents such as we have with tools like Microsoft Sharepoint. Instead, the value of IDM is in the simplicity of viewing, storing and accessing M3 transaction-related documents directly from your M3 functions. These might be documents such as Purchase Orders, Supplier Invoices, Customer Statements or Proof of Delivery documentation. Using the Infor OS context apps, we can see related documents from within the context of a specific M3 transaction, such as an invoice, or master data entry, such as a balance id or supplier. As the IDM Client is embedded in Infor OS framework, we can even use bookmark links to access documents from Ming.le posts and workflow tasks.
There are a few different options for documents to be loaded to IDM. M3 Outputs can be loaded directly to IDM at print time. External documents can be loaded manually by M3 users or they can be added automatically from external systems, such as IDM Document Capture, using the ION APIs.
Below we’ll take a look at some of the design considerations for your initial setup of IDM and how your organisation can to start to use IDM today.
IDM Design Tips
The IDM system is intuitive and easy to use. For those who are just getting started with IDM, these are some design considerations to keep in mind before you start configuring.
Define Document Types
The first step to adding documents in IDM is defining the Document Types. Consider what document name is the user most likely to search for in the IDM application. Avoid jargon and keep naming standards logical for all end users who will be searching IDM. For example, the user will be more likely be looking for a Customer Invoice than an OIS199PF.
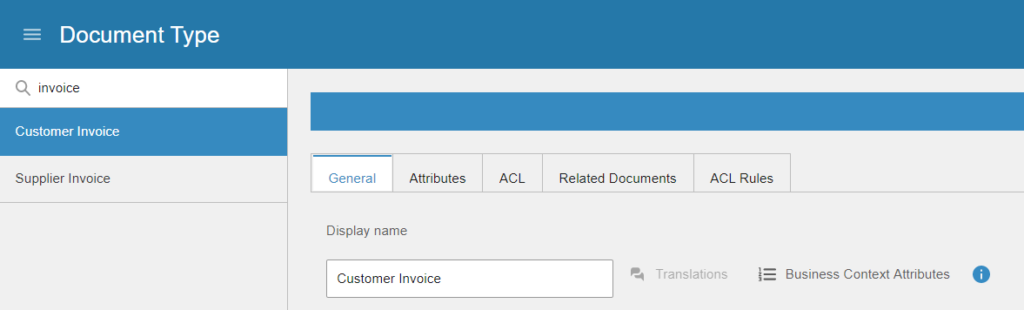
Figure 1 – Document Types in IDM
The next consideration is who should have authority to view each document type. If different users should have access to Customer Invoices vs Customer Credits, create them as separate document types rather than just one.
Finally, it’s a good idea to check the number and size of your documents to ensure your IDM storage allocation will be sufficient for the length of time you want to archive your documents.
Define Document Attributes
Once the Document Types have been identified, it’s time to define the document attributes. These are the identifying fields that will be used to search for a specific document. Ideally, all of the key fields for the transaction will be included but you might like to think about what types of searches the users might need to use to find these documents. For example, the facility to search for a Proof Of Delivery document within a specific date range would require an attribute for the delivery date. Similarly, a search for all Customer Credits that are over a certain $ limit would require an attribute for the invoice amount.
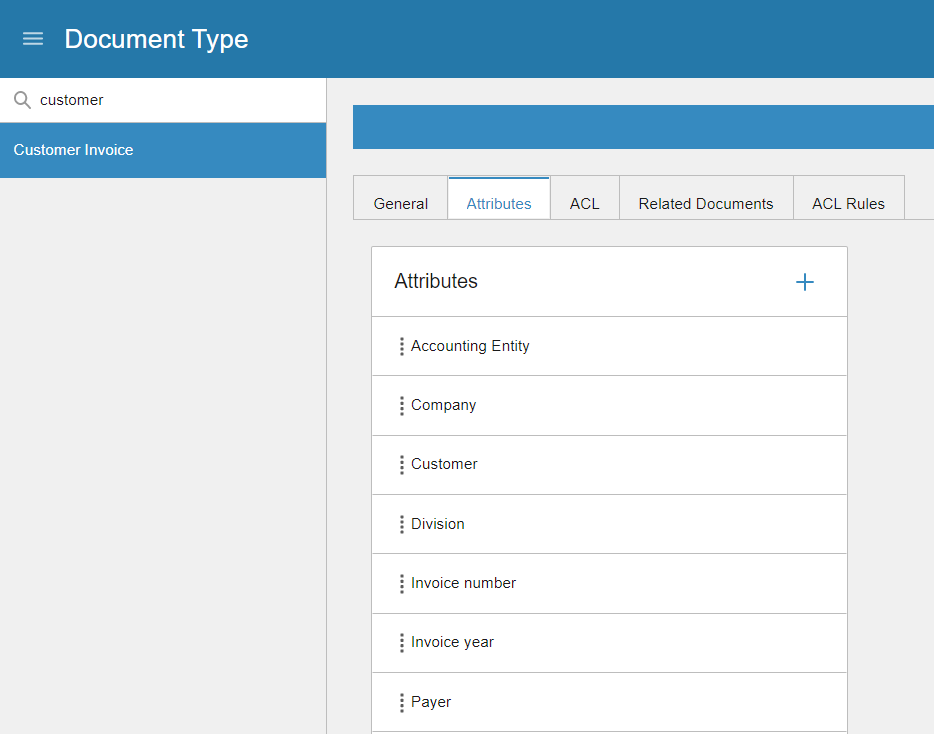
Figure 2 – Attributes in IDM
When defining attributes, keep in mind that any documents to be added manually by the users shouldn’t have a document type with so many attributes that they become too onerous to upload.
For manually uploaded documents, it’s also important to define which attributes are mandatory so that users don’t forget to add any important identifiers.
Now, you’re ready to set up your document types, their attributes and security settings (ACL) in IDM Control Centre. After you save your document type, reopen it and IDM will give you the option of to select one of the new attributes that will become the Document Title in searches.
Using the IDM Client
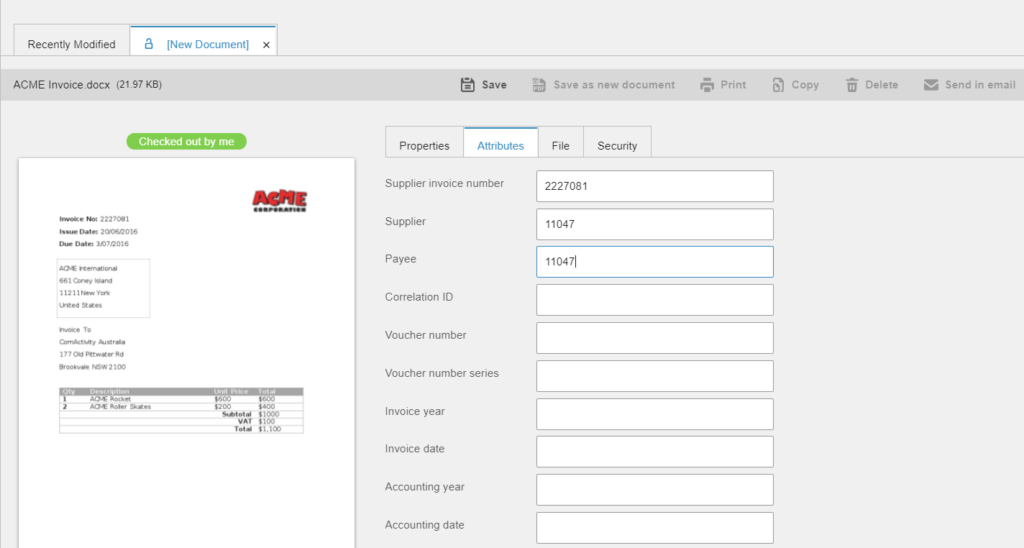
Figure 3 – IDM Document Upload
The IDM Client will be accessible for all users with the IDM-User security role. If your new document type is not visible, check the Document Filter in IDM Control Centre.
Users can now add documents directly in the client with simple drag-and-drop functionality and filling in all mandatory attributes.
The IDM Client can also be used for document searches based on the Document Type and the Attributes. The + button allows the user to add more than one attribute to the query.
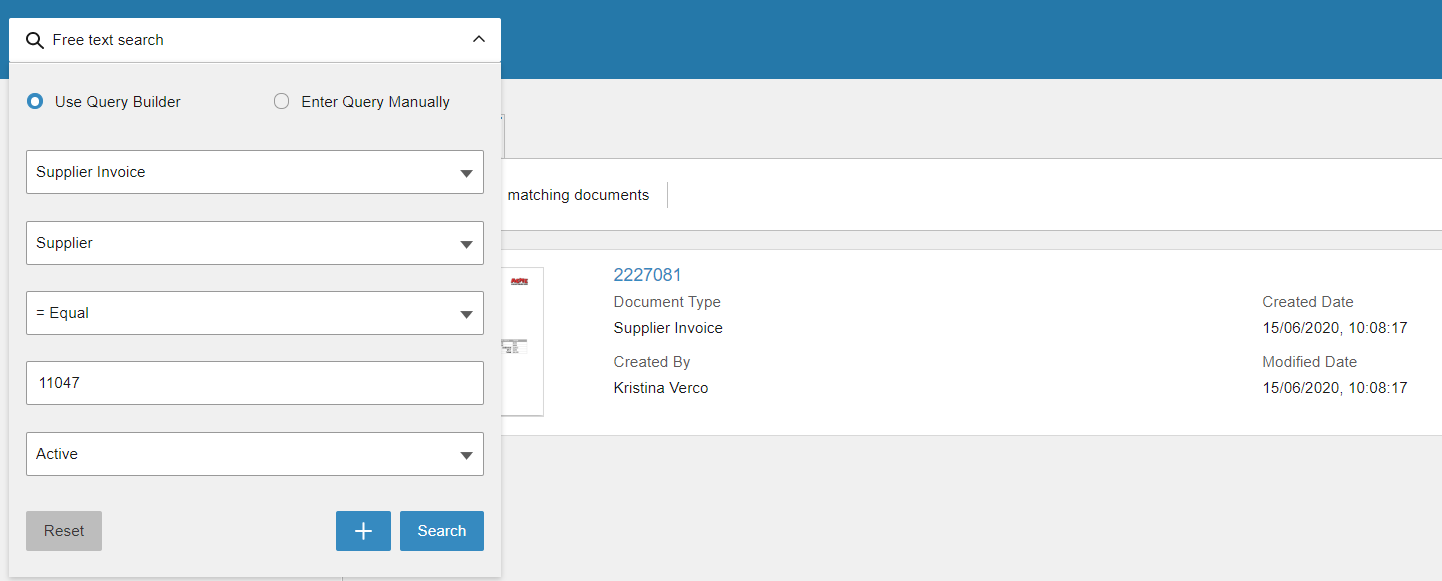
Figure 4 – IDM search
Opening a document from here gives the user the facility to view & download documents, delete or correct documents and their attributes, send emails with the document attachments and send Ming.le posts to colleagues with a document link.
Related Information context application
In Infor OS, the most common way to access documents is via the Related Information context application. This application will retrieve any documents related to the M3 transaction selected on the List B panel or displayed in an E/F/… Detail panel. It also allows the user to load new documents against the current M3 context by dragging and dropping them into the Released Information panel.
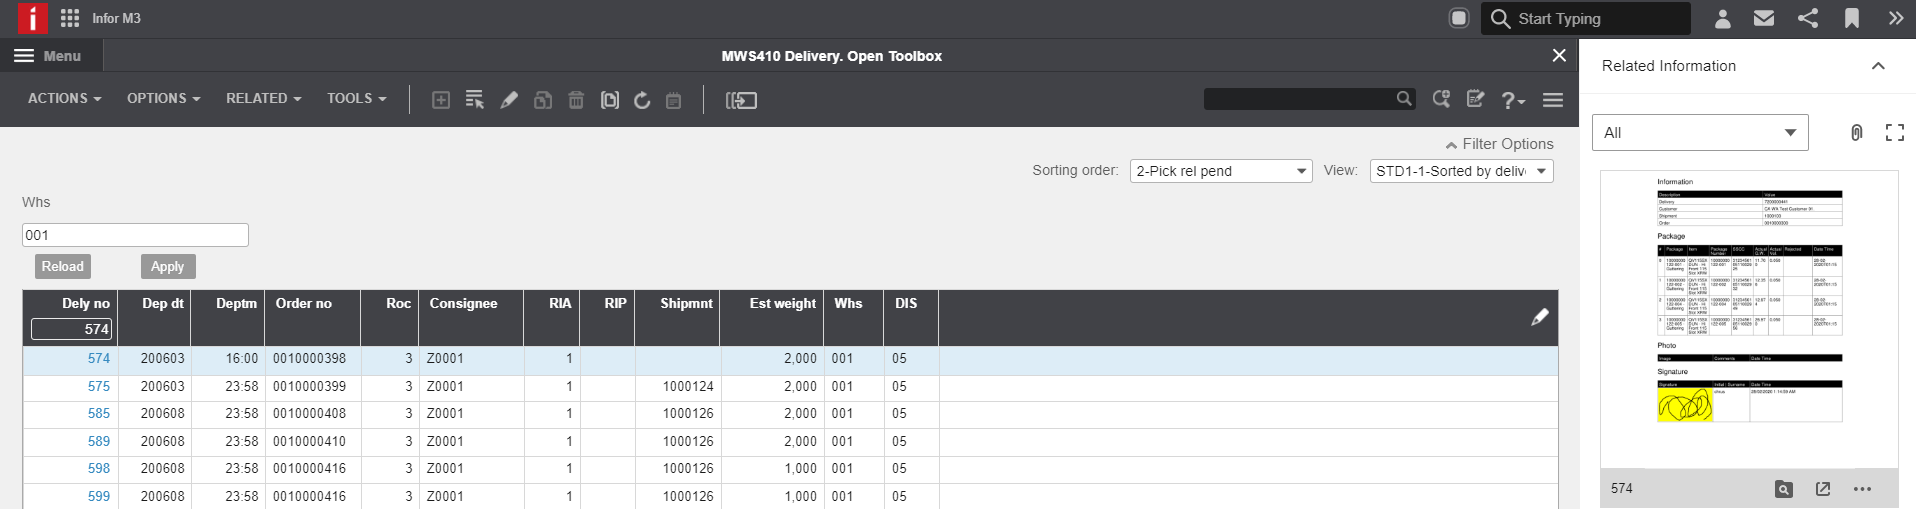
Figure 5- IDM Related Information context app
The Related Information context application must be switched on for the M3 application and then should be accessible to all users with the IDM-RelatedInformationUser security role. You will need to define your Business Context Model data to link the document with the M3 screens. This can be complicated to configure, but a good starting place would be to load the standard CustomerInvoice and SupplierInvoice settings available with Implementation Accelerator.

Figure 6 – IDM Business Context Models
Once the Business Context Model settings are defined, the Related Information context application will refresh and display the associated document whenever the users selects a new B panel line or opens a detail panel. From the context app, you can click a link to open the document directly in IDM.
IDM Outlook Add-In
After IDM is configured and users have access to load documents, one more option for manual document uploads is the Document Management Add-In for Outlook. This plug-in allows users to load emails or email attachments directly from Outlook to IDM. which you can download here:
https://appsource.microsoft.com/en-us/product/office/WA104382056
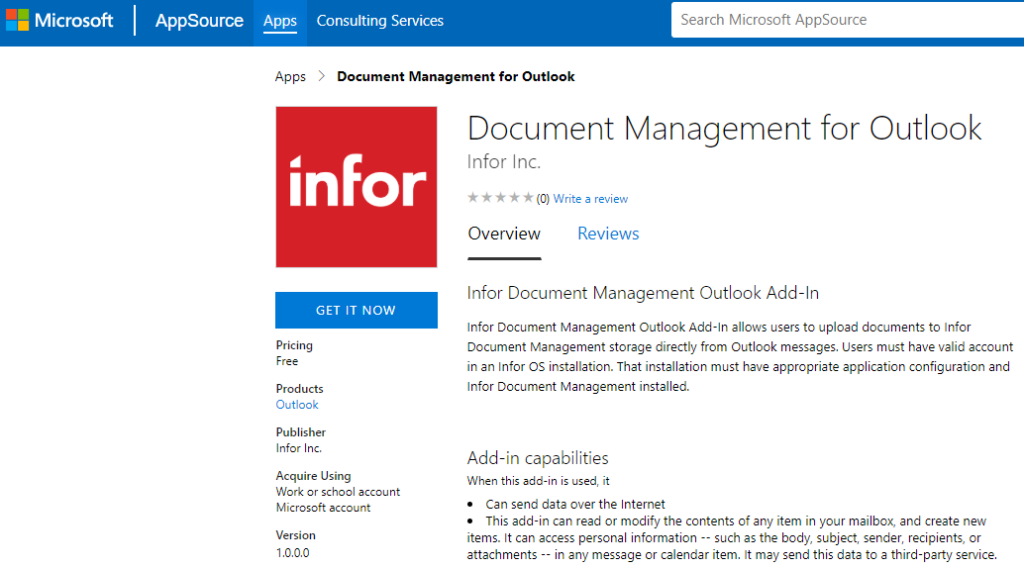
Figure 7 – IDM Add-In for Outlook
Check the configuration details provided by Infor in KB 2088694.
If you would like help with Infor Document Management, or getting maximum value from Infor OS, then don’t hesitate to get in touch with us.

Kristina Verco
Senior Technical Consultant
As a senior M3 technical consultant and technical project manager, Kristina is often called on to give solution recommendations for the latest Infor technologies. With a very strong technical background, Kristina has over 20 years of experience of coordinating projects and processes across diverse teams and locations, and also drives learning and development in the organisation.